Behind the Shine: A Beginner’s Guide to Pottery Glaze
In pottery, glazing transforms a simple clay creation into a stunning, finished piece. Whether it is a glossy bowl, a textured vase, or a colourful mug, the glaze is what gives pottery its personality. But what exactly is glaze, and how does it work? Let’s explore the basics.
What Is Glaze?
Glaze is a liquid mixture applied to the surface of ceramic pottery that, when fired in a kiln, creates a smooth, glass-like finish. At its core, glaze is made from silica (glass-forming materials), fluxes (melting agents), and stabilisers that help it stick to the clay body.
When fired at high temperatures, the glaze melts and bonds to the pottery, resulting in a protective coating. Glaze not only enhances the aesthetic appeal of pottery but also makes it waterproof and more durable.
Types of Glazes
There are several types of glazes, each offering a different finish and texture. Here are some of the most common types:
1. Glossy Glaze
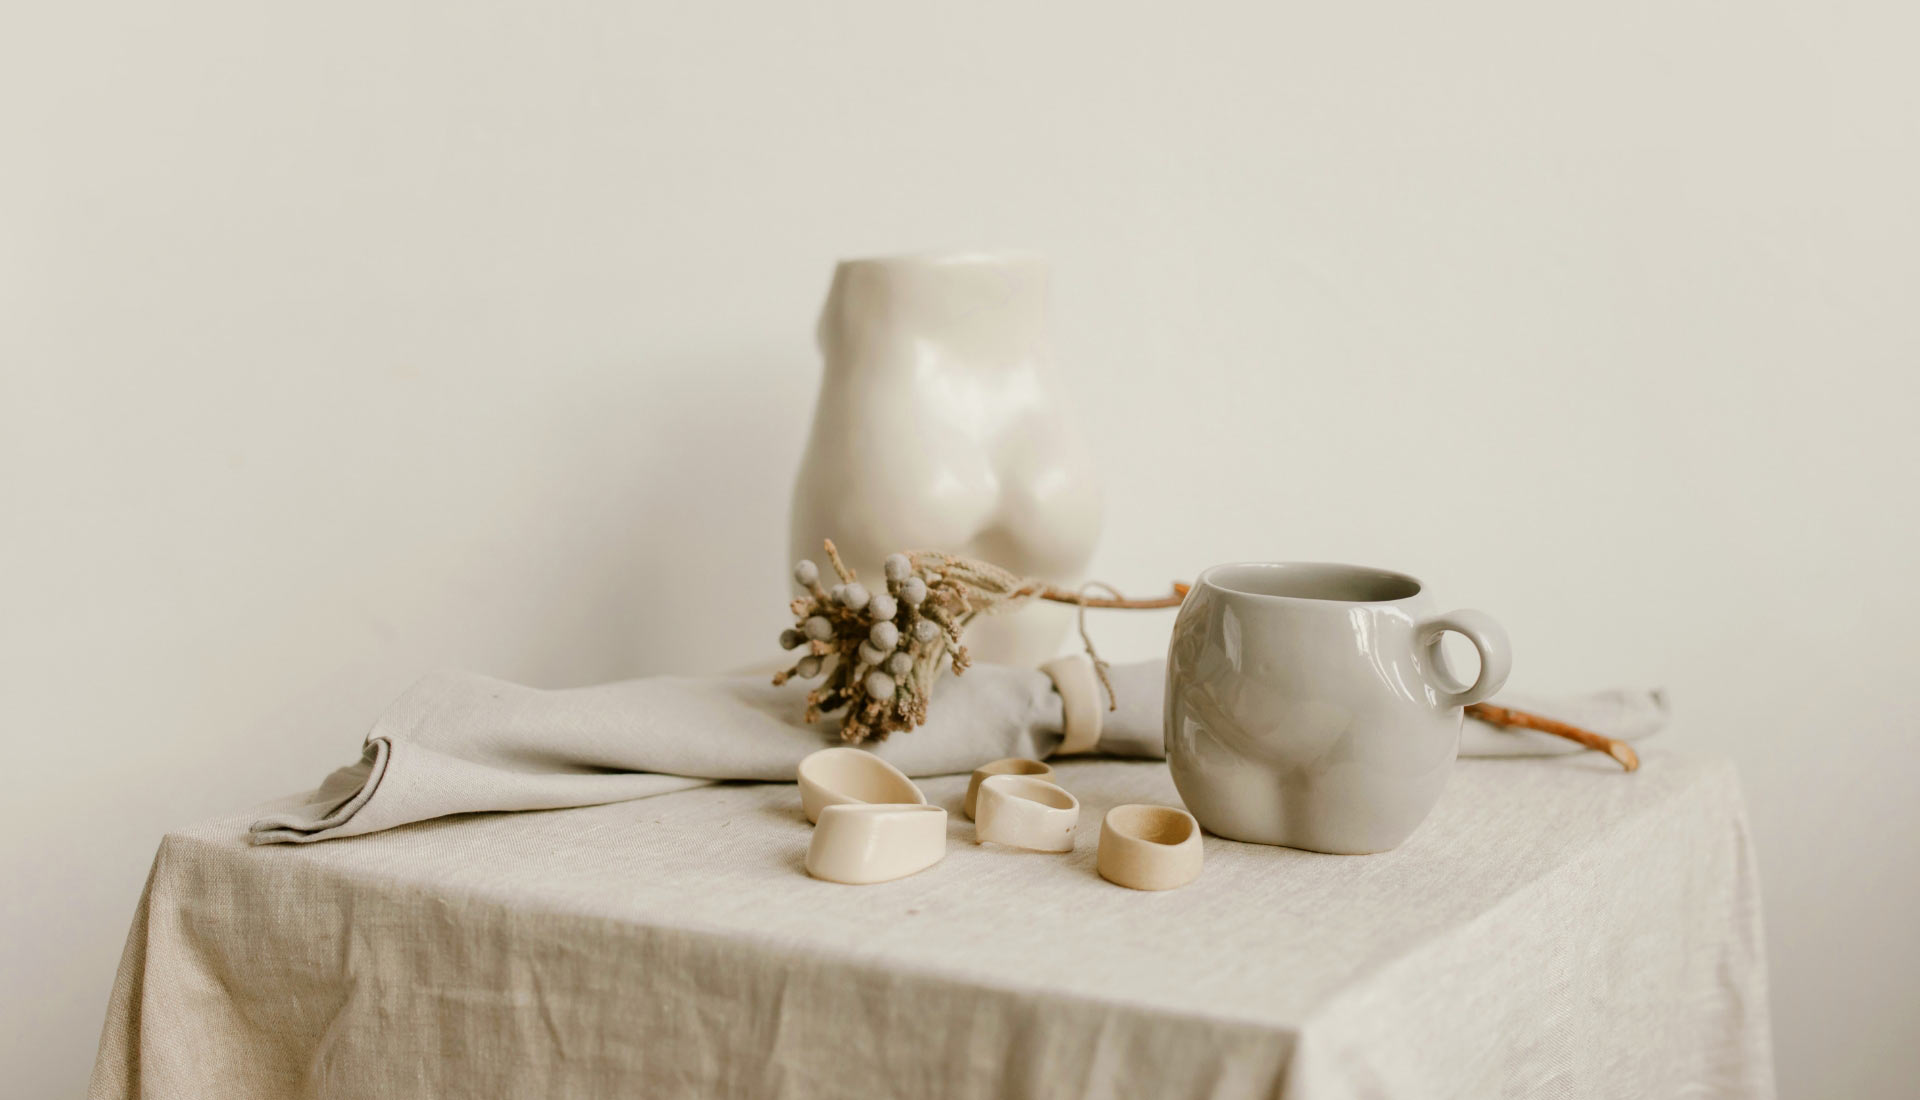
This glaze creates a shiny, reflective surface that brightens the colours and details of the pottery. Perfect for functional pieces like bowls, plates, and cups.
2. Matte Glaze
A soft, non-shiny finish that gives a more subtle, natural look. Popular for modern and minimalist pottery styles.
3. Satin (Semi-Matte) Glaze
A balance between matte and glossy, offering a gentle sheen without being too reflective.
4. Transparent Glaze
Allows the surface underneath to show through, making it ideal for pottery with intricate carvings, patterns, or underglaze decorations. Can be glossy or matte.
5. Opaque Glaze
Covers the surface completely, hiding details underneath. It’s great for bold, solid-colour designs.
6. Celadon and Ash Glazes
Celadon glazes are transparent with a tint (often green or blue), popular in traditional pottery. Ash glazes mimic natural effects where ash from a wood fire melts into the ceramic surface.
Undercolours and Underglazes
Before applying a glaze, potters often add colour or designs to the clay surface using undercolours or underglazes.
Underglazes are pigments applied to the clay body before glazing. They remain visible beneath a transparent or semi-transparent glaze, allowing for detailed patterns or illustrations.
Underglazes come in various colours and can be painted, sponged, or stamped onto the surface.
For instance, a ceramic mug might feature hand-painted flowers in blue underglaze, which would appear vibrant after a transparent glaze is applied and fired.
Basic Glazing Tactics
Glazing may seem complex, but with a little practice, you can achieve beautiful results. Here are some key glazing techniques:
1. Dipping
The pottery piece is dipped into a bucket of liquid glaze. This method ensures even coverage and is ideal for beginners.
2. Pouring
Glaze is poured over the pottery, allowing it to flow smoothly. This works well for large pieces or achieving interesting drips.
3. Brushing
A brush is used to apply glaze by hand. Brushing allows for more control and can create decorative textures or layered effects.
4. Spraying
A spray gun or airbrush is used to apply glaze in a fine mist. This method creates soft, even coatings.
5. Layering Glazes
Potters often layer two or more glazes to create unique effects, such as colour blending, drips, or crackles.
There are various glazing techniques to explore, such as bubble glazing and straw glazing, which add unique textures and patterns to pottery surfaces.
Glazing is where pottery comes alive, adding colour, texture, and durability to your creations. By understanding the types of glazes, how undercolours work, and basic glazing tactics, you can explore endless possibilities for your pottery projects. Whether you prefer a glossy finish or a subtle matte look, glazing is a rewarding part of the pottery-making process.
So, next time you create something in the studio, remember – the magic often happens in the glaze!
1 Comment
Leave a Reply Cancel reply
Related articles
Master the Art of Hand-Building Pottery
Pottery is a craft that sparks endless creativity, and hand-building techniques are some of the most
The Pottery Process: From Clay to Masterpiece
Creating a piece of pottery is a beautiful journey that blends creativity, skill, and patience. From
10 Benefits of Pottery You Need in Your Life
Pottery is more than just an art form; it’s a journey of creativity, mindfulness, and personal gro


Pingback: The Pottery Process: From Clay to Masterpiece - Welcome to Pots2Love: Where Creativity Meets Clay!