The Pottery Process: From Clay to Masterpiece
Creating a piece of pottery is a beautiful journey that blends creativity, skill, and patience. From shaping raw clay to adding the final glossy finish, every step is essential to bring a unique ceramic piece to life. Here’s a step-by-step guide to the pottery process, from start to finish.
1. Preparing and Shaping the Clay
Every masterpiece begins with a lump of raw clay. The first step is preparing the clay, which involves kneading or “wedging” to remove air bubbles and ensure the clay is smooth and workable.
Once the clay is ready, it can be shaped using different techniques:
- Wheel Throwing: The clay is placed on a spinning pottery wheel and shaped with steady hands. This is ideal for symmetrical forms like bowls and vases.
- Hand-Building: Techniques like coiling, slab building, or pinching allow for more organic and creative shapes without a wheel.
At this stage, the focus is on crafting the basic form, refining edges, and ensuring the piece is balanced.
2. Smoothing and Refining the Shape
Once the basic form is created, it’s time to refine it. As the clay begins to dry to a leather-hard stage (firm yet slightly damp), the surface is smoothed using tools like sponges, metal ribs, or damp cloths. This step removes imperfections, sharp edges, or unwanted marks.
Potters often add details like handles, carvings, or textures at this stage to personalise the design.
3. The First Firing: Bisque Firing
After refining, the pottery piece is left to dry completely until it becomes bone-dry—free of moisture. It is then placed in a kiln for its first firing, known as the bisque firing.
During bisque firing, the kiln heats the clay to around 900–1,000°C (1,650–1,830°F).
The clay hardens, becoming ceramic but still porous, which allows it to absorb glaze later.
This stage is crucial; any trapped moisture could cause the piece to crack or explode in the kiln.
4. Adding Colour: Underglaze or Undercolour
Before glazing, potters often decorate the bisque-fired piece with underglaze or undercolour. These are coloured pigments applied to the ceramic surface to add patterns, designs, or vibrant hues.
Underglazes can be painted, sponged, or stamped onto the pottery.
Once dry, the underglaze remains visible beneath a transparent or semi-transparent glaze, giving depth and life to the design.
This step allows for detailed artwork or colour accents before the final glaze is applied.
5. Glazing the Pottery
Glazing is where the magic happens. A glaze is a liquid mixture that, when fired, forms a glassy, protective coating on the pottery. It adds colour, texture, and makes the piece waterproof and functional.
6. The Final Firing: Glaze Firing
Once glazed, the pottery goes back into the kiln for its second and final firing, known as the glaze firing.
The kiln is heated to 1,100–1,300°C (2,000–2,400°F), depending on the glaze and clay type.
During firing, the glaze melts, forming a smooth, glass-like layer that bonds to the ceramic surface.
As the kiln cools, the glaze solidifies, revealing its final colours and finish—glossy, matte, or textured.
7. The Masterpiece Is Born
After the final firing, the kiln is carefully opened to reveal the finished piece. This is the most exciting part of the process, as the colours and glazes come to life in ways that can be both surprising and beautiful.
The pottery is now complete! A unique, durable, and functional work of art, ready to be admired, used, or displayed.
From a simple lump of clay to a refined, glazed masterpiece, pottery is a process of patience, precision, and creativity. Whether you’re a beginner or a seasoned potter, the journey is just as rewarding as the final piece itself.
Related articles
10 Benefits of Pottery You Need in Your Life
Pottery is more than just an art form; it’s a journey of creativity, mindfulness, and personal gro
Behind the Shine: A Beginner’s Guide to Pottery Glaze
In pottery, glazing transforms a simple clay creation into a stunning, finished piece. Whether it is
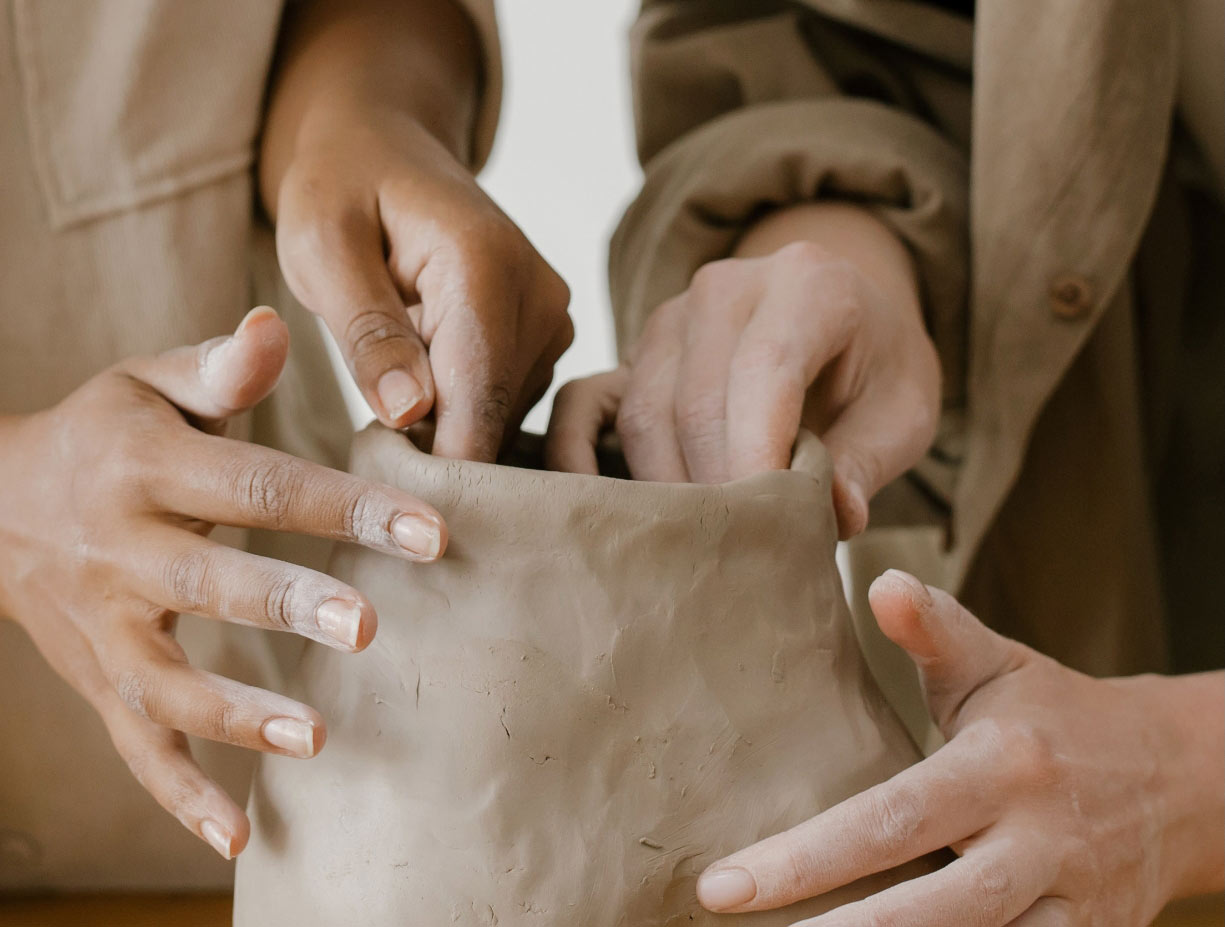
Master the Art of Hand-Building Pottery
Pottery is a craft that sparks endless creativity, and hand-building techniques are some of the most
Leave a Reply